


150mm diameter core holes were drilled at 2M centres in two rows. The drilling rig was bolted to the wall to prevent vibration and set at 20° (to the horizontal).
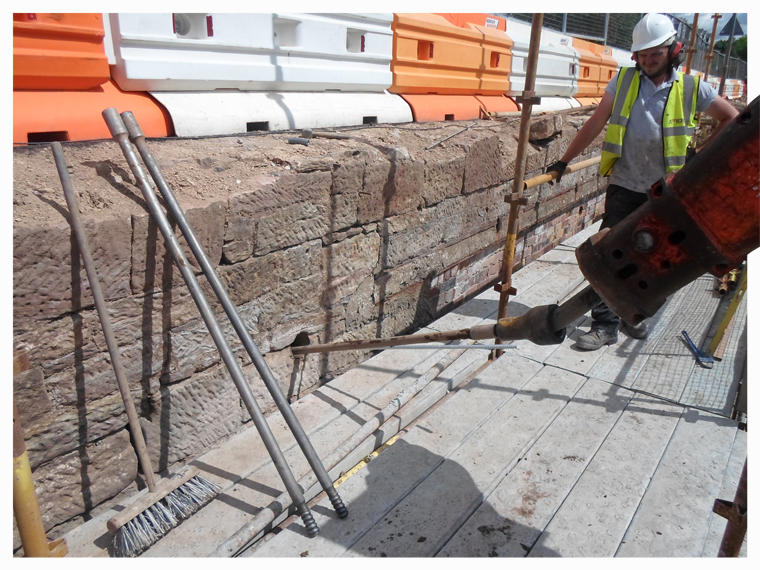
Duckbill Anchors were installed using a JCB to lengths varying between 5 and 10 metres.
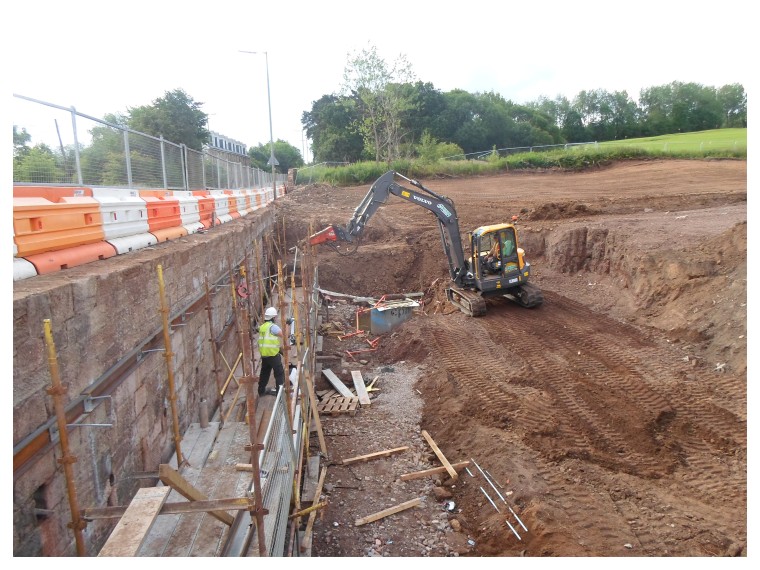
The photograph shows the JCB pushing the anchor head via steel driving rods to a pre-determined depth (a test anchor was installed to establish the load bearing capability of the soil).
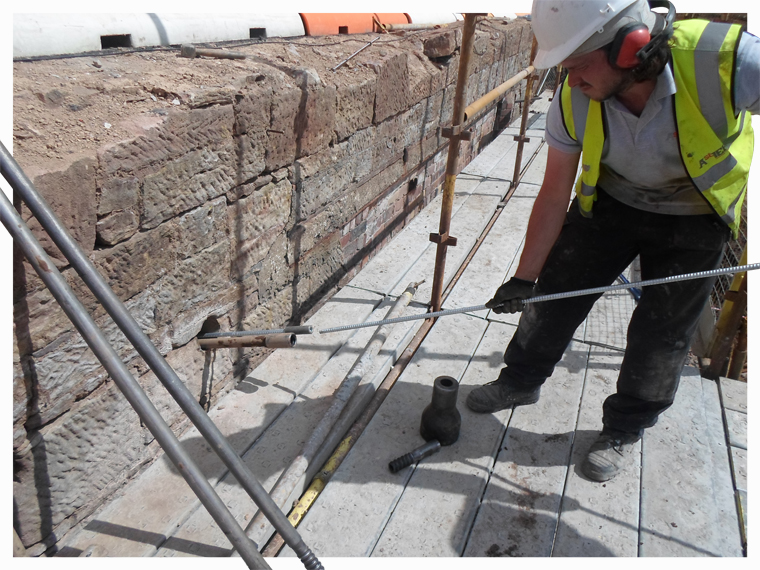
As the drive rods are driven deeper stainless steel extensions are screwed together which will form the permanent tendons fixed to the Duckbill Anchors.
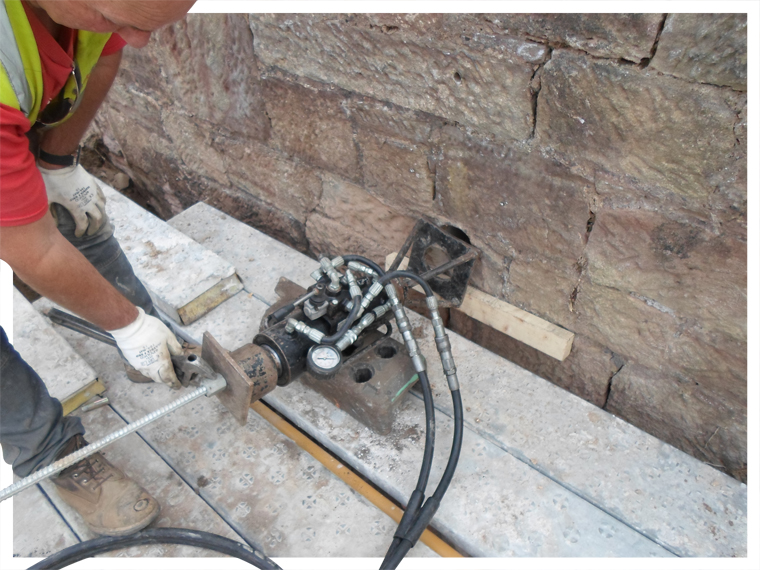
Once the anchor is driven to the target depth, the load test unit is attached and the Duckbill Anchor is loaded.
The Duckbill Anchor rotates 90° as the load is applied, locking the anchor in place.
The loads are recorded and any anchor which does not achieve the designed load is discarded and another anchor is installed.
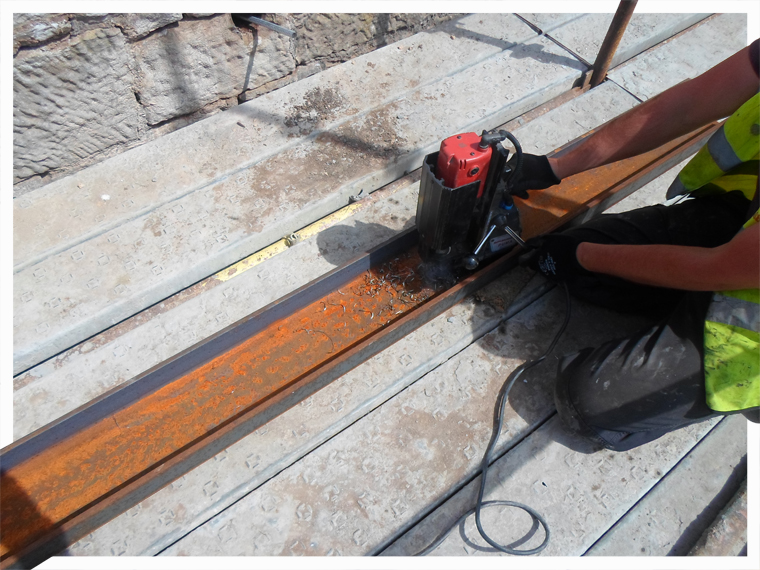
The anchors are generally locked off and pattress plates are installed. However, to spread the loads across the full length of the wall, “C” section steel waling beams were installed to create a diaphragm effect.
The beams were drilled on site using a mag drill.
The beams were installed in 3-4M lengths as the installation of the anchors progressed.
The full installation was completed in 2 weeks and to programme.